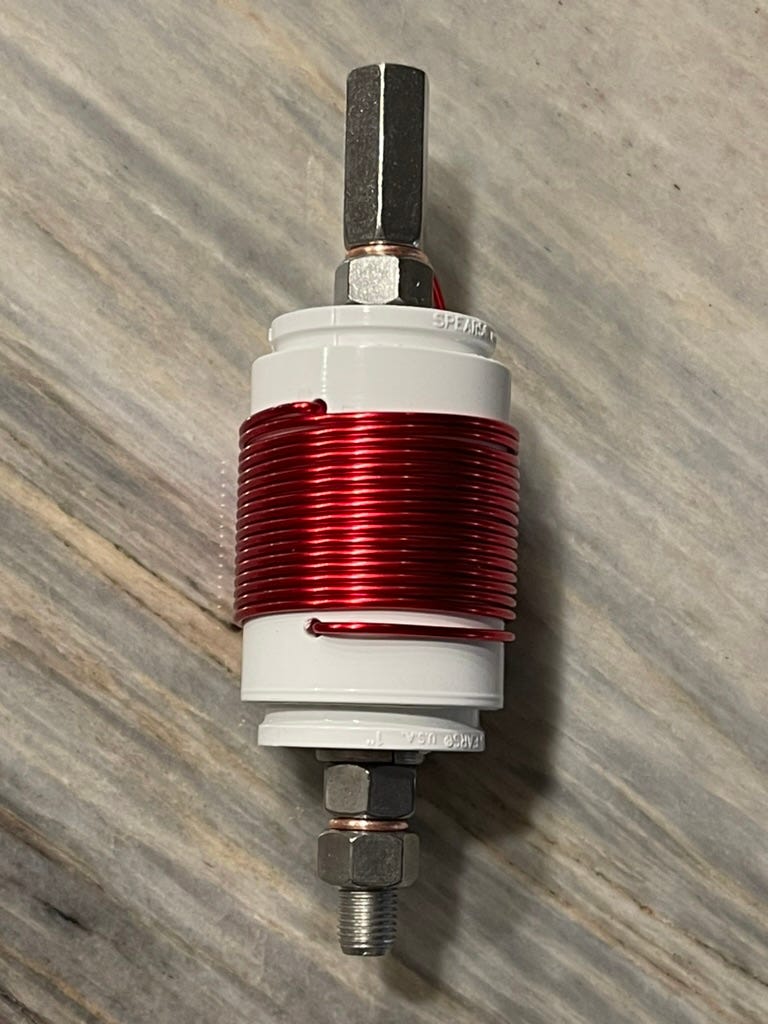
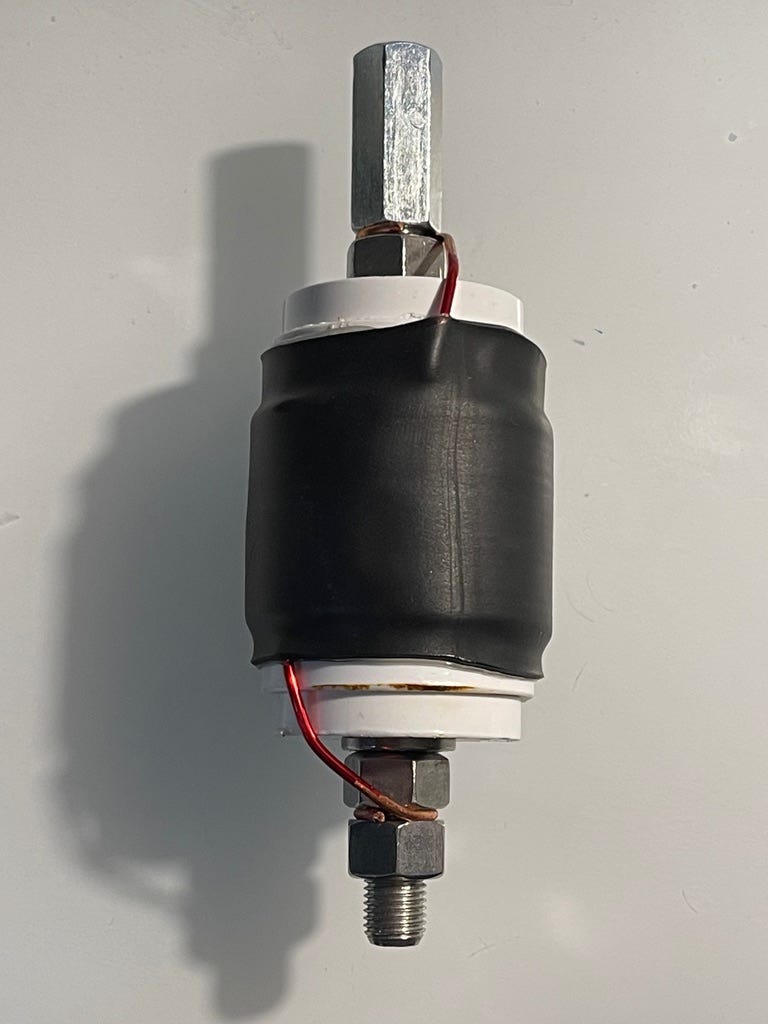
Build: Base-Loaded 40 Meter Coil for my 17 ft Whip
Why buy it when you can build it for twice the price?
The Venerable Wolf River Coil
One of the first pieces of kit I bought after acquiring a Yaesu FT-891 and building a linked dipole was a Wolf River Coil setup consisting of their 17ft whip, a Silver Bullet Mini and whatever they call their 24 inch tripod (TIA or something?). To date it is the ONLY antenna I have ever bought*.
It has served me well. The whip is going on four years. I bought its replacement two years ago thinking it was about to go any day.
The coil is rock-solid too. Except I haven’t really used it that much. I used to do 40 meter POTA activations regularly. I’d set up and run on 40 before switching over to 20. At some point I stopped doing that and just started each activation on 20 meters.
I’ve been wanting to get back into 40 meters. And while I could just start using the coil again (and I have!), I’d kind of like something I could just screw in that gives me 40 meters without any adjustment.
The folks at WRC noticed this demand and began offering something called the “Sporty 40”. It’s reasonably priced at around $30 plus shipping. Unfortunately, they’ve temporarily shut the store down due to health problems. I don’t know when they’ll open back up.
Since I’ve got money to burn, I decided I would try my hand at building one.
* I’m not counting the MFJ-1886 mounted on the shed.
Supplies
Here’s what you’ll need:
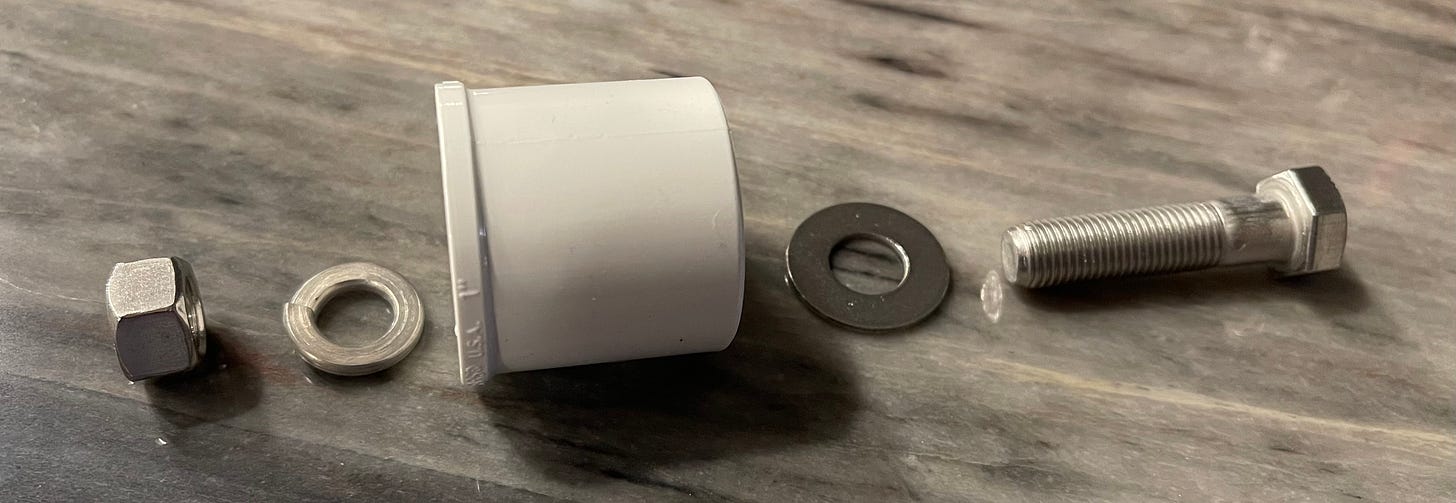
Two 1 inch PVC plugs.
14 AWG enameled magnet wire. About 9 ft.
About 2.5” of 2” ID shrink wrap (wide enough to slide over the PVC coupling)
Other Items:
a drill with
a 1/8” bit and
a step bit
a few adjustable crescent wrenches
possibly a mallet
needle nose pliers
something to cut heavy wire.
loctite (optional)
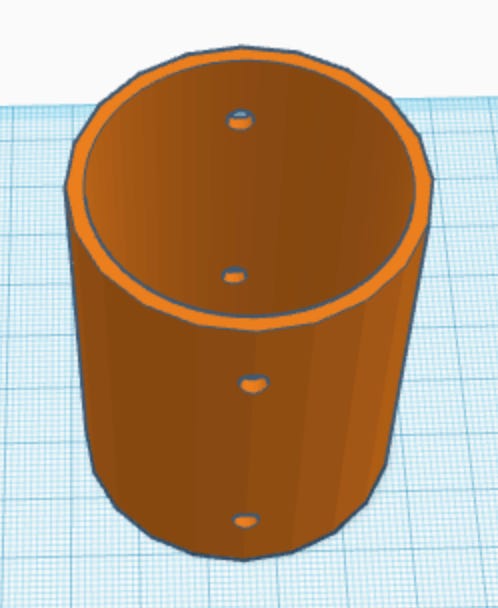
NOTE: I’ve created some 3D-printable templates that make it easy to mark up the PVC parts for drilling. You can find them on Tinkercad.
Step 1: Prepare the Ends
You’ll do this twice…
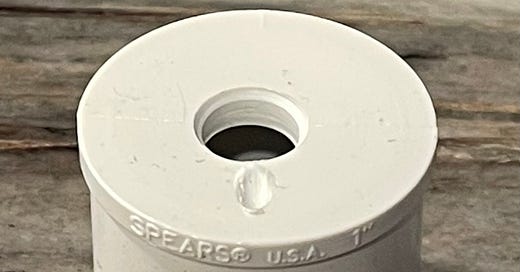
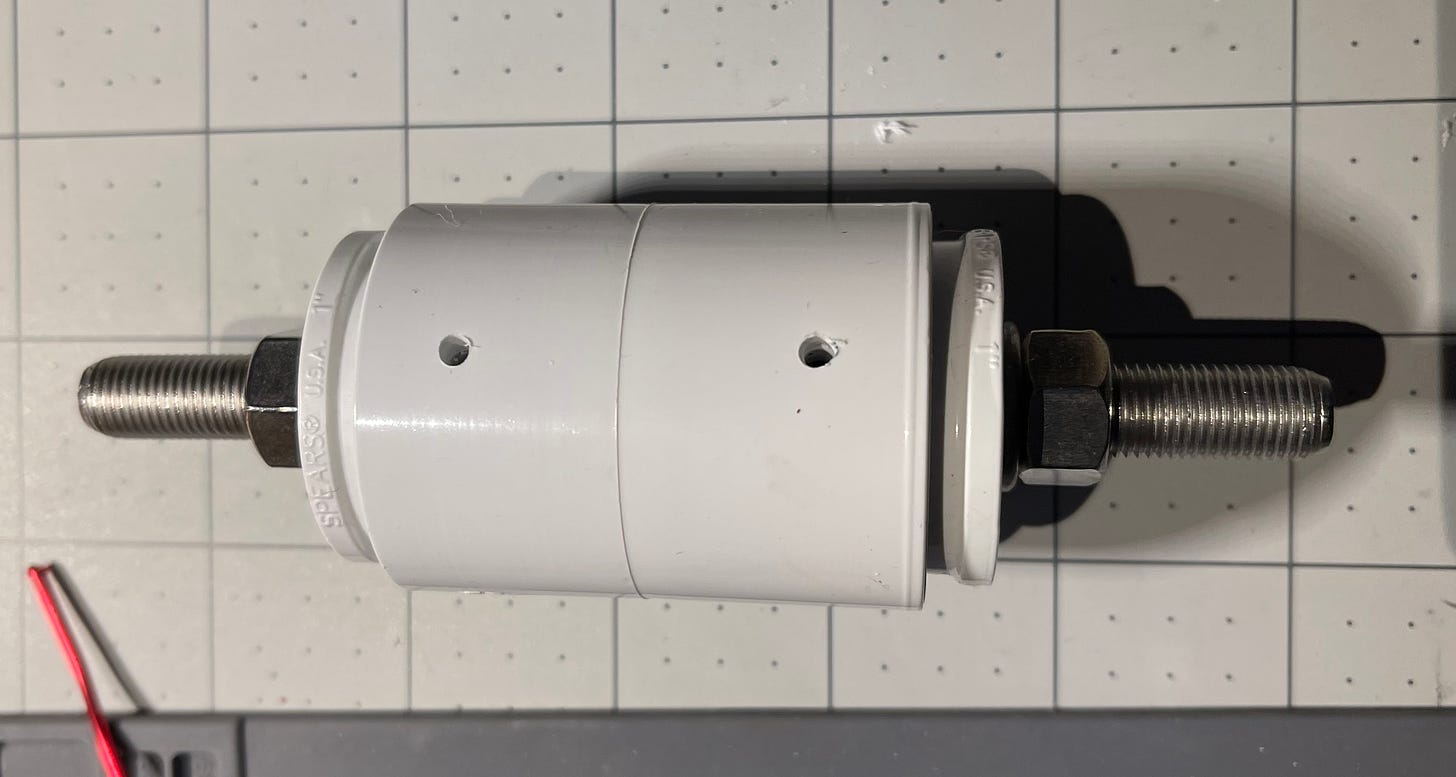
Drill a 1/8” starter hole in the center of two PVC plugs (template). Next use a step bit to drill a hole large enough to pass a 3/8” bolt through the center of each PVC plug. Take care to ensure you get it dead-on center.
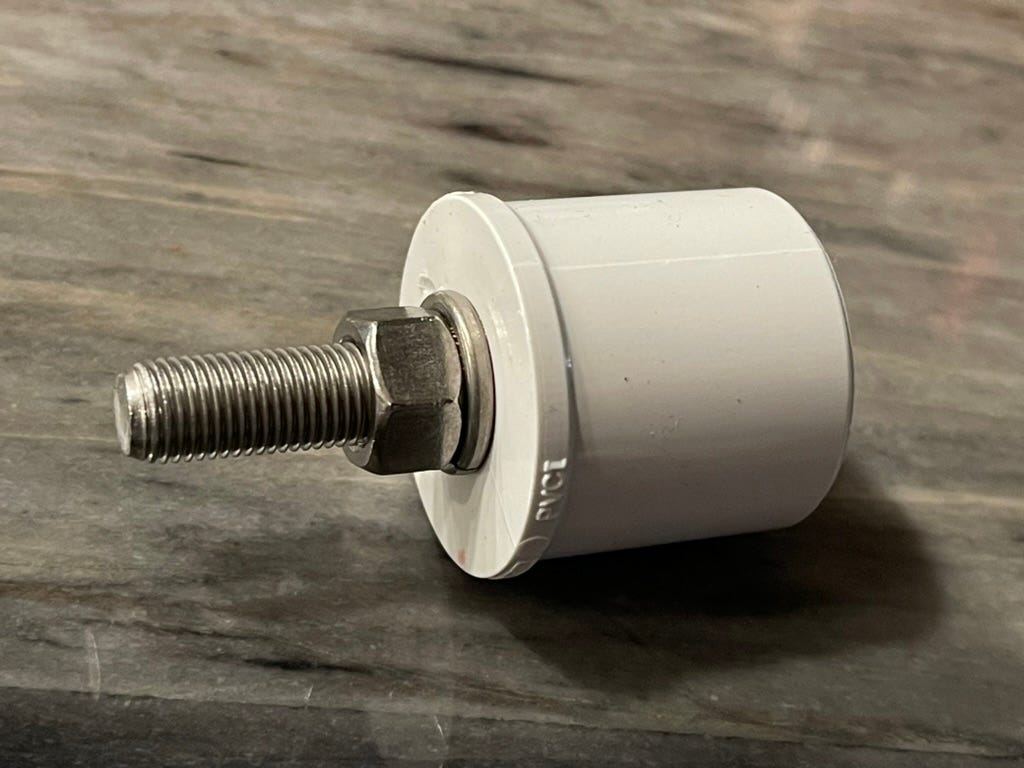
Place a regular washer on a bolt and pass it through so that it comes out of the top of the plug. (The head of the bolt will be on the inside of the plug.)
Add a lock washer and nut to the bolt shaft and tighten it as hard as you can. Use some Loctite if you want.
Do it gain for the other plug. You should have two plugs that are more or less identical.
Step 2: Prepare the Coupling
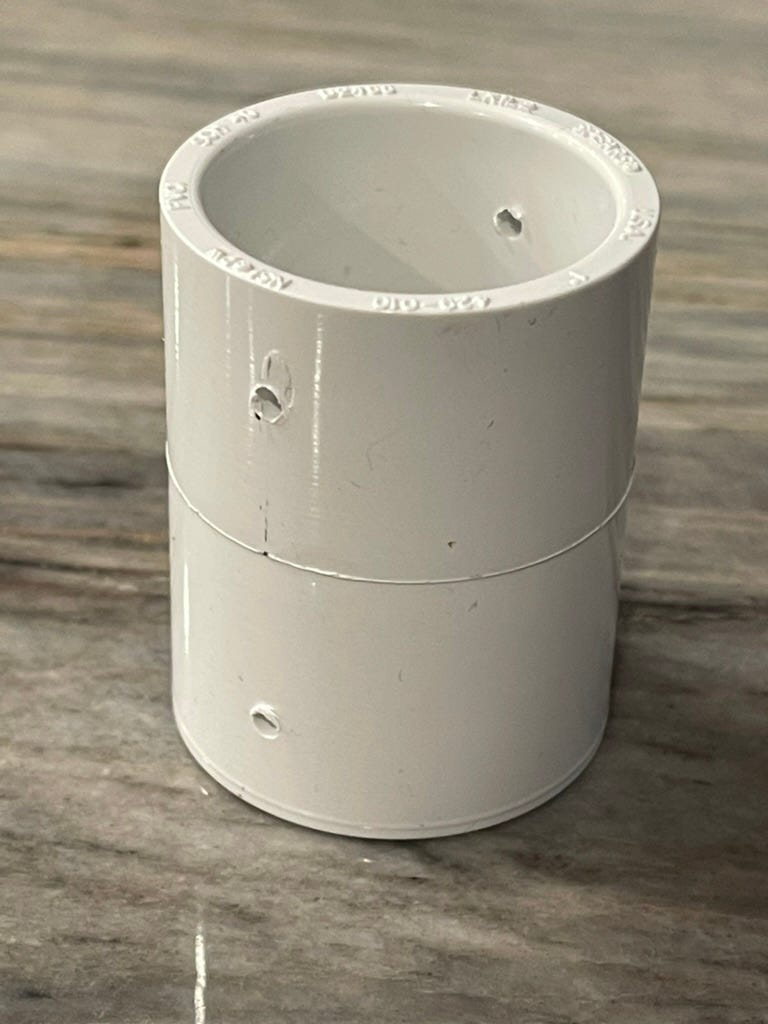
You’ll end up drilling 4 holes in the coupling that the wire will pass through. The holes should be opposite each other and on each end about 9.5 mm from the end of the coupling. Using the template will help tremendously.
In any event, you’ll want 30 mm between the edges of the holes so that there is enough space for the coils coils to be wrapped. (17 turns of 14 AWG means you’ll need 1.15 inches at the very least, but usually a bit more.)
Step 3: Attach the Plugs
Attach a plug to the coupling and re-drill the wire holes so that they go all the way through the plug that is currently blocking the wire from going all the way through. Then attach the second plug and do the same thing. You may need to use a vise or a mallet to get the job done—the fitting is pretty tight. Because of this I do not recommend using glue.
Also, if you’re going to apply force, apply it to the PVC, not the screws.
You are now in possession of a pretty decent coil form.
Step 4: Wind the Coil
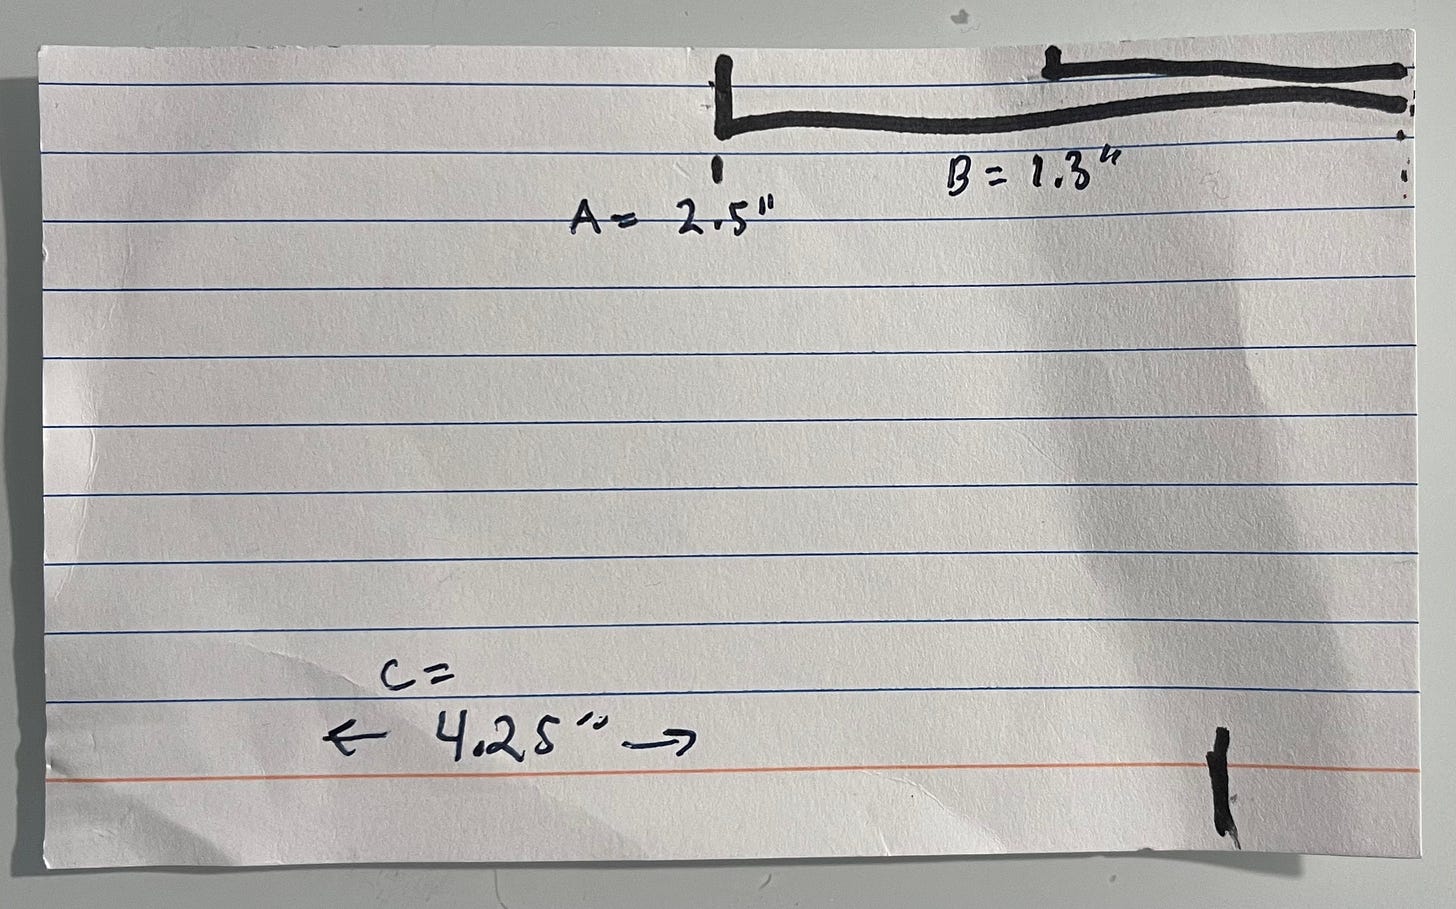
I use a measurement template for this part. Mine is made from a 3x5 card.
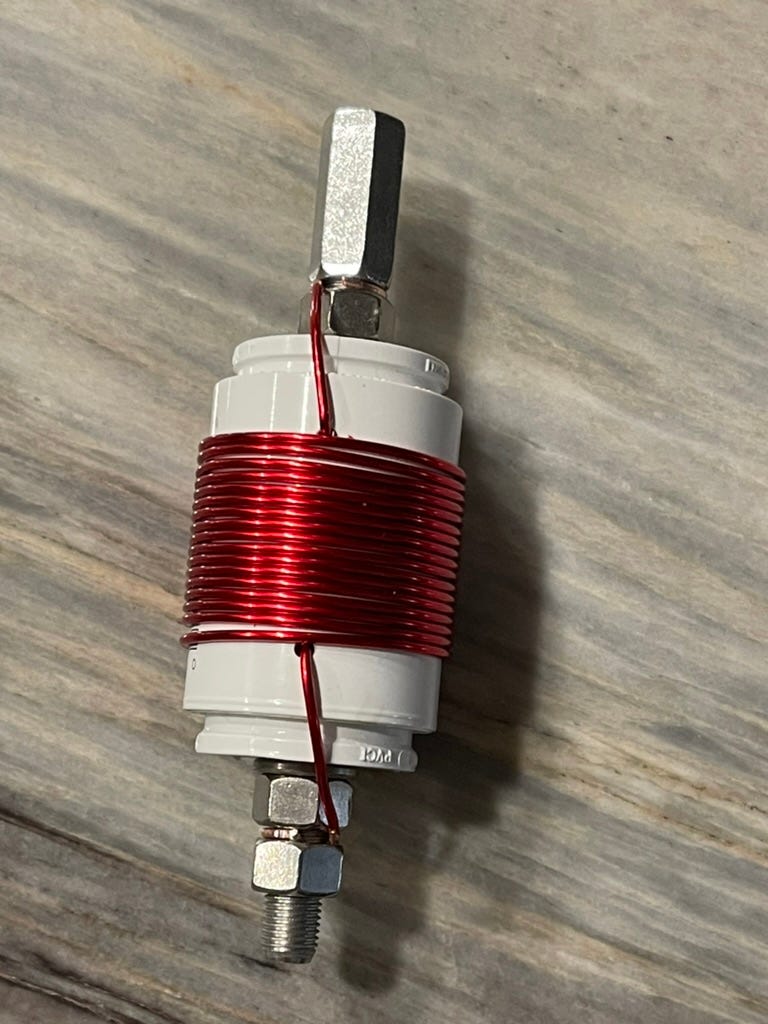
Remove the enamel from about 1.3 (measurement B) inches of the end of your magnet wire. Thread it all the way through one end of the coil form so that 2.5 inches are poking out (including the bit you just stripped, see measurement A). This excess will need to be bent up and wrapped clockwise around the protruding bolt. Take a regular nut and hand tighten it over the wire.
Start winding the other end of the wire around the coil form. Orientation matters a little here. I like to start with the side I just threaded down and wind from the bottom up, rotating the form clockwise. (This gives you a “right-handed” turn.)
You need to make 17 full revolutions (“turns” in coil parlance). When that is done, send the remaining wire all the way through your holes, pull tight with your pliers, and bend the wire up. Measure 4.25 inches of wire and cut (measurement C). This will be enough fold up and around the screw after you’ve scraped the enamel off the last 1.3 inches of it.
Wrap it clockwise around the bolt and add a coupling nut.
If your coils are loose, this is your opportunity to tighten them. There’s no easy way to do this. I just hold the coil with both hands and twist in the direction of the coils.
Once you’re happy with the windings, add a little loctite to each end and tighten the regular nut and the coupling nut with wrenches. We don’t want them going anywhere.
Your coil is functionally complete.
Step 5: Testing
If you have the capability, I recommend testing the inductance of your coil. I’ve made several of these now. They usually measure somewhere between 10.7μH and 11.1μH when measured from screw to nut (end to end).
Finally, go test it with your whip. Make sure your radials are laid out. I’ve found that when I connect it to my CHA SS17 whip that it will tune the low end of 40 meters fully extended. To reach the phone portion I have to tuck in 6-8” of the whip. Your mileage may vary.
Step 6: Shrink Wrap (Optional)
This isn’t required, but gives the coil a nice finished look and will protect it from getting scratched. It also keeps the coils in place.
Cut 2.5 inches of 2-inch ID (51 mm) shrink wrap. I like using the marine grade type that has glue on the inside, but you can use whatever you have.
Working with this stuff is a little tricky because it can shift as it’s heated. Here’s the technique I’ve adopted:
Get the tubing centered on your coil.
Hold down in the middle gently with a pair of needle-nosed pliers. This prevents any shifting.
Begin applying heat the entire length of the tubing.
Once that side feels like it’s not going to shift, roll the coil 90 degrees and repeat these steps.
Remember: PVC can soften or melt at high temperatures, so don’t over do it.
That’s it. You’re done. Have fun with your creation!
Shameless Plug
I’ve bought enough hardware to make about 50 of these during cold and wet weekends this winter. I’ve set up a storefront at https://southtxradio.square.site/ and will be selling them there. $40 will get one of these shipped right to your door.
If you’re adventurous and would prefer a kit, please reach out to gary@ki5grd.org. I have enough parts leftover to build a few.

